> ## Documentation Index
> Fetch the complete documentation index at: https://airmdr-docs-crowdstrike-skills-catalog.mintlify.site/llms.txt
> Use this file to discover all available pages before exploring further.
# Okta SSO Set-up and Configuration
> AirMDR supports Okta single sign-on to authenticate users for access to the AirMDR application.
### Overview
Okta Single Sign-On (SSO) can authenticate access to various applications by integrating it with your application. Here’s a step-by-step guide to setting up Okta SSO authentication.
AirMDR supports the Okta single sign-on (SSO) method for authenticating users and granting them access to the user interface.
### Pre-requisites
Prior to set-up, Super Admin must have the Okta Developer Account with Admin access.
1. Login into the **Okta Admin Console**.
2. Enter your admin username and password, then click **Sign In**.
3. Navigate to **Applications** → **Applications** and click **Create App Integration**. A pop-up modal will show up.
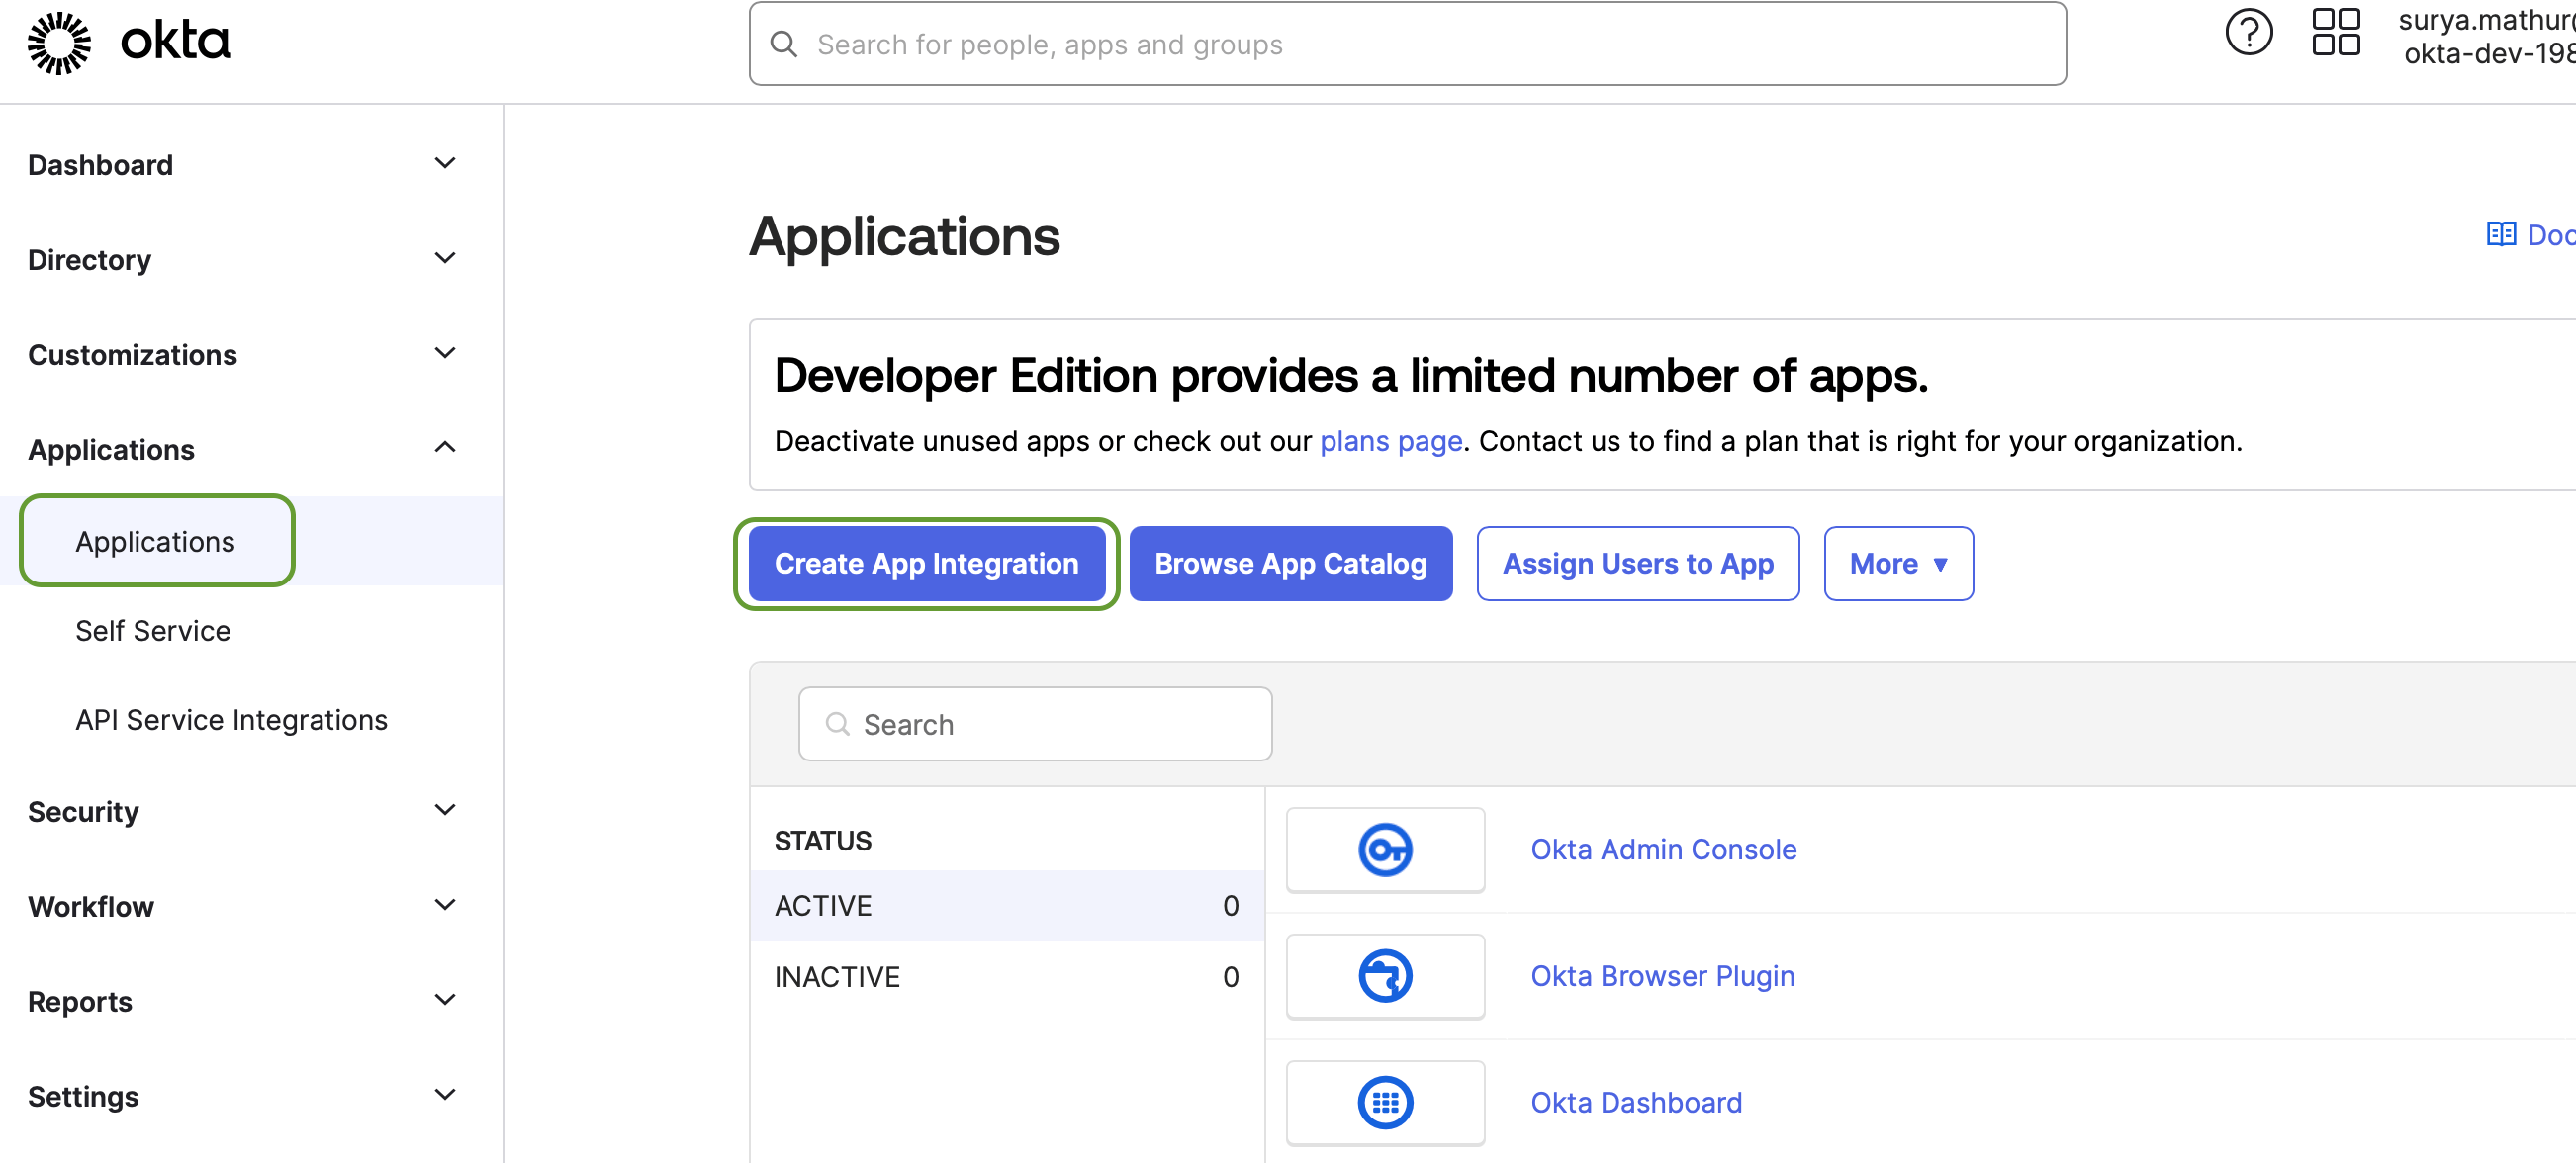 4. In the pop-up modal, select the radio button next to SAML 2.0, and click **Next**.
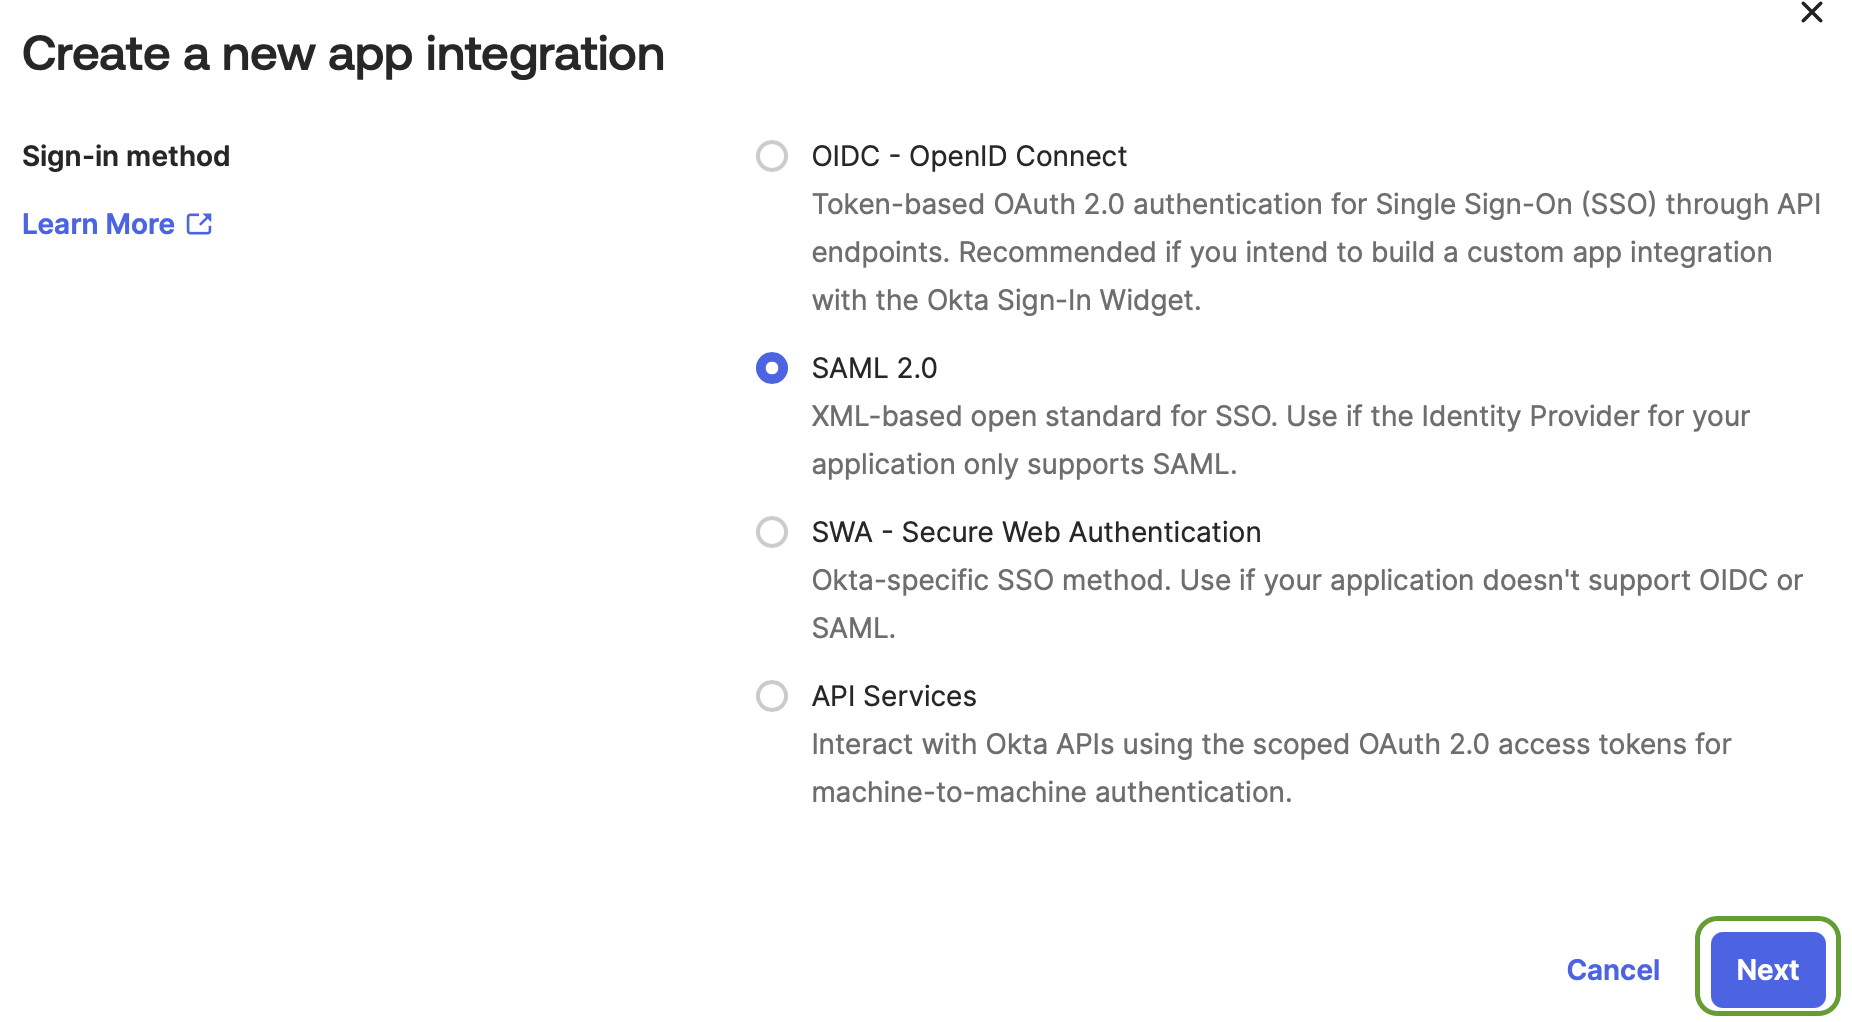 5. **Create SAML Integration**
* In the General Settings tab, provide the following details
* **App Name**: Enter `AirMDR`
* **App logo:** (optional) - Upload the AirMDR logo for easier identification.
* Click **Next.**
5. **Create SAML Integration**
* In the General Settings tab, provide the following details
* **App Name**: Enter `AirMDR`
* **App logo:** (optional) - Upload the AirMDR logo for easier identification.
* Click **Next.**
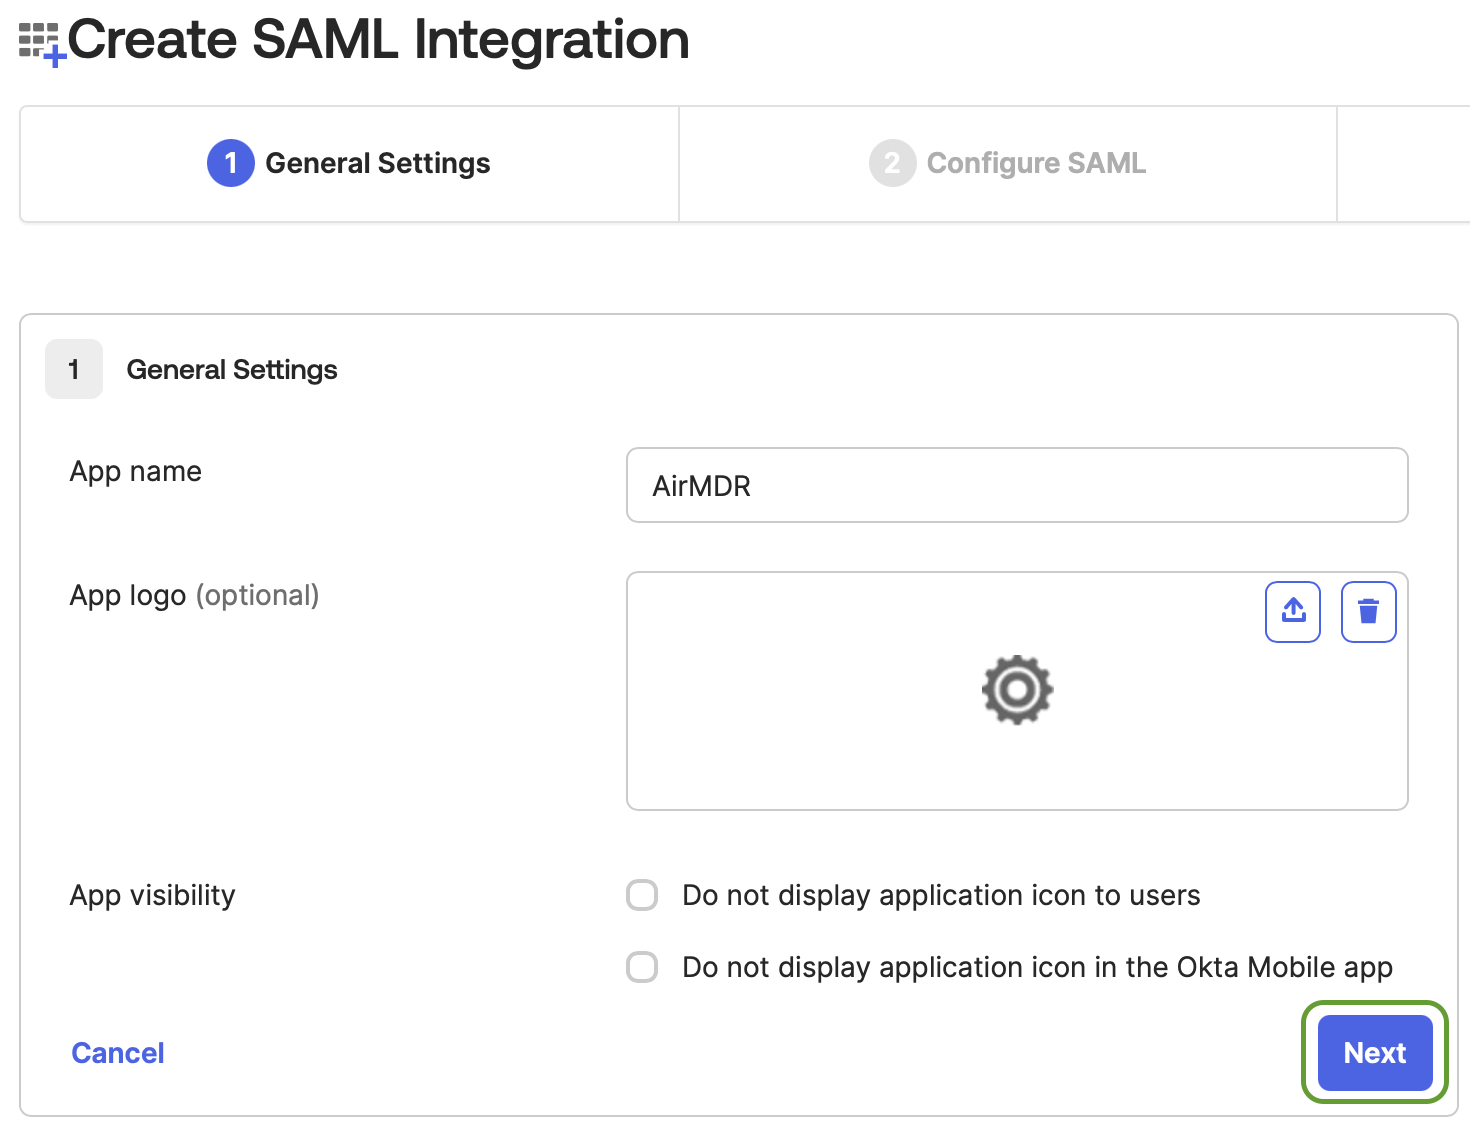 * In the Configure SAML Settings tab, provide the following details
* **Single sign-on URL**: [https://app.airmdr.com/airmdrapi/sso/acs](https://app.airmdr.com/airmdrapi/sso/acs)
Make sure the check-box is selected for "**Use this for Recipient URL and Destination URL**"
* **Audience URI (SP Entity ID)**: [https://app.airmdr.com/airmdrapi](https://app.airmdr.com/airmdrapi)
* **Default Relay State**: [https://app.airmdr.com](https://app.airmdr.com/airmdrapi)
* In the Configure SAML Settings tab, provide the following details
* **Single sign-on URL**: [https://app.airmdr.com/airmdrapi/sso/acs](https://app.airmdr.com/airmdrapi/sso/acs)
Make sure the check-box is selected for "**Use this for Recipient URL and Destination URL**"
* **Audience URI (SP Entity ID)**: [https://app.airmdr.com/airmdrapi](https://app.airmdr.com/airmdrapi)
* **Default Relay State**: [https://app.airmdr.com](https://app.airmdr.com/airmdrapi)
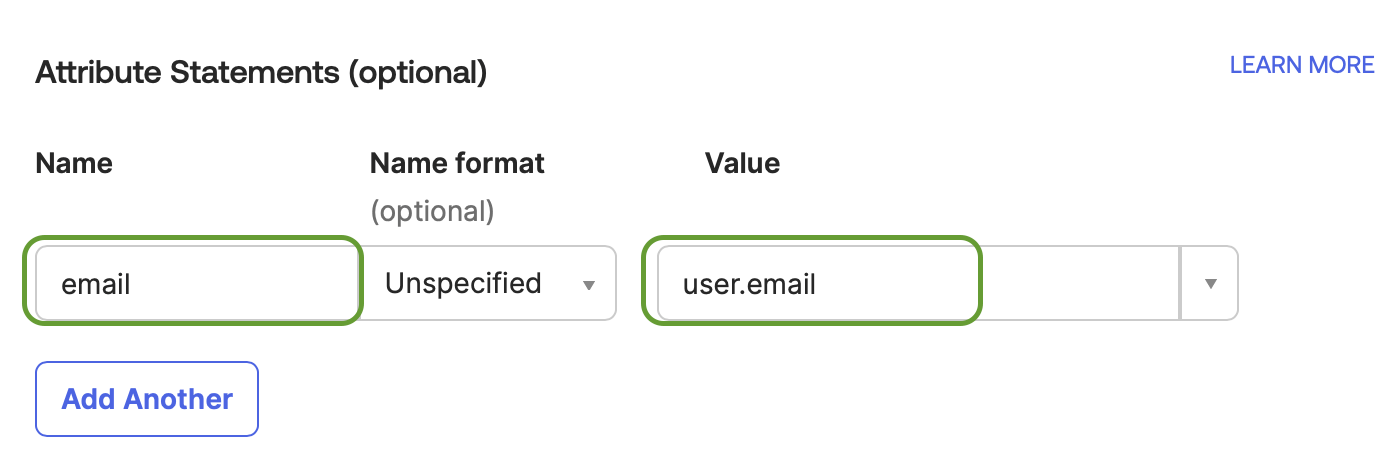
 * Add a SAML attribute with name `email` and value `user.email`
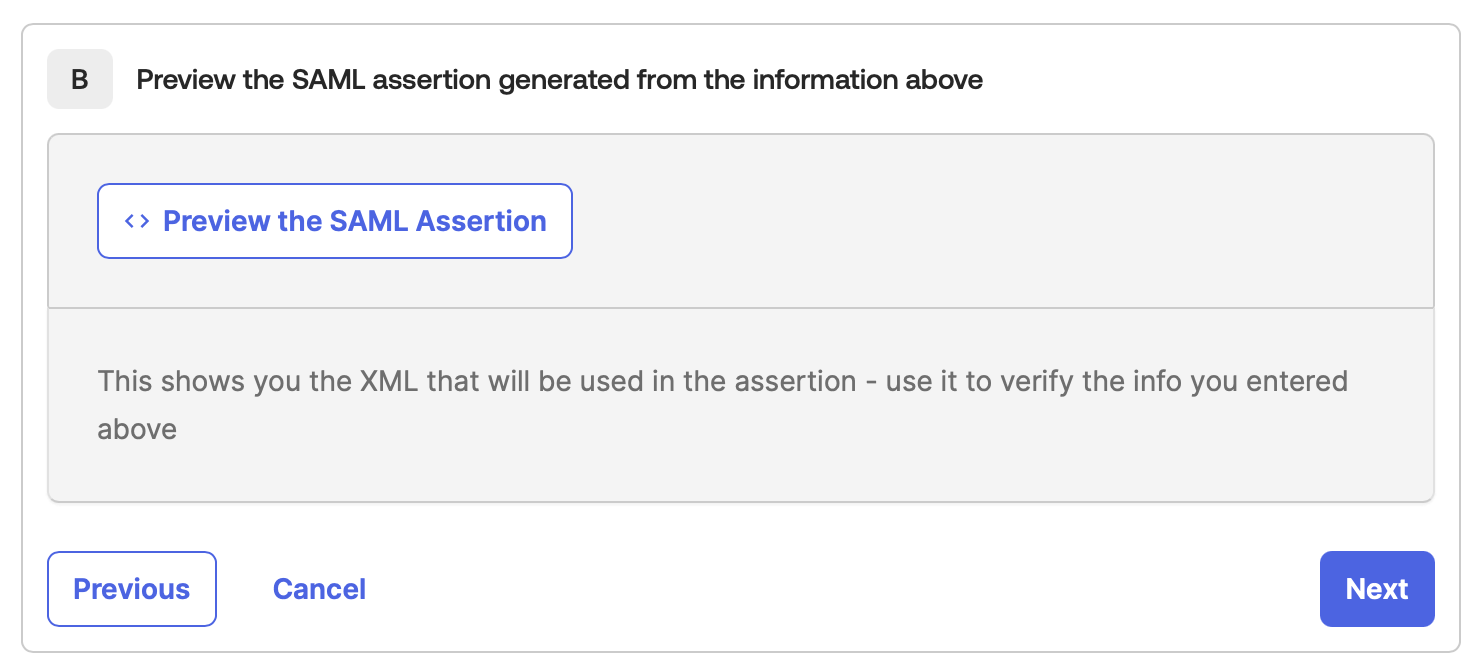
 * In the B section, preview the SAML assertion generated with the information provided (optional)
* Click **Next.**
* In the B section, preview the SAML assertion generated with the information provided (optional)
* Click **Next.**
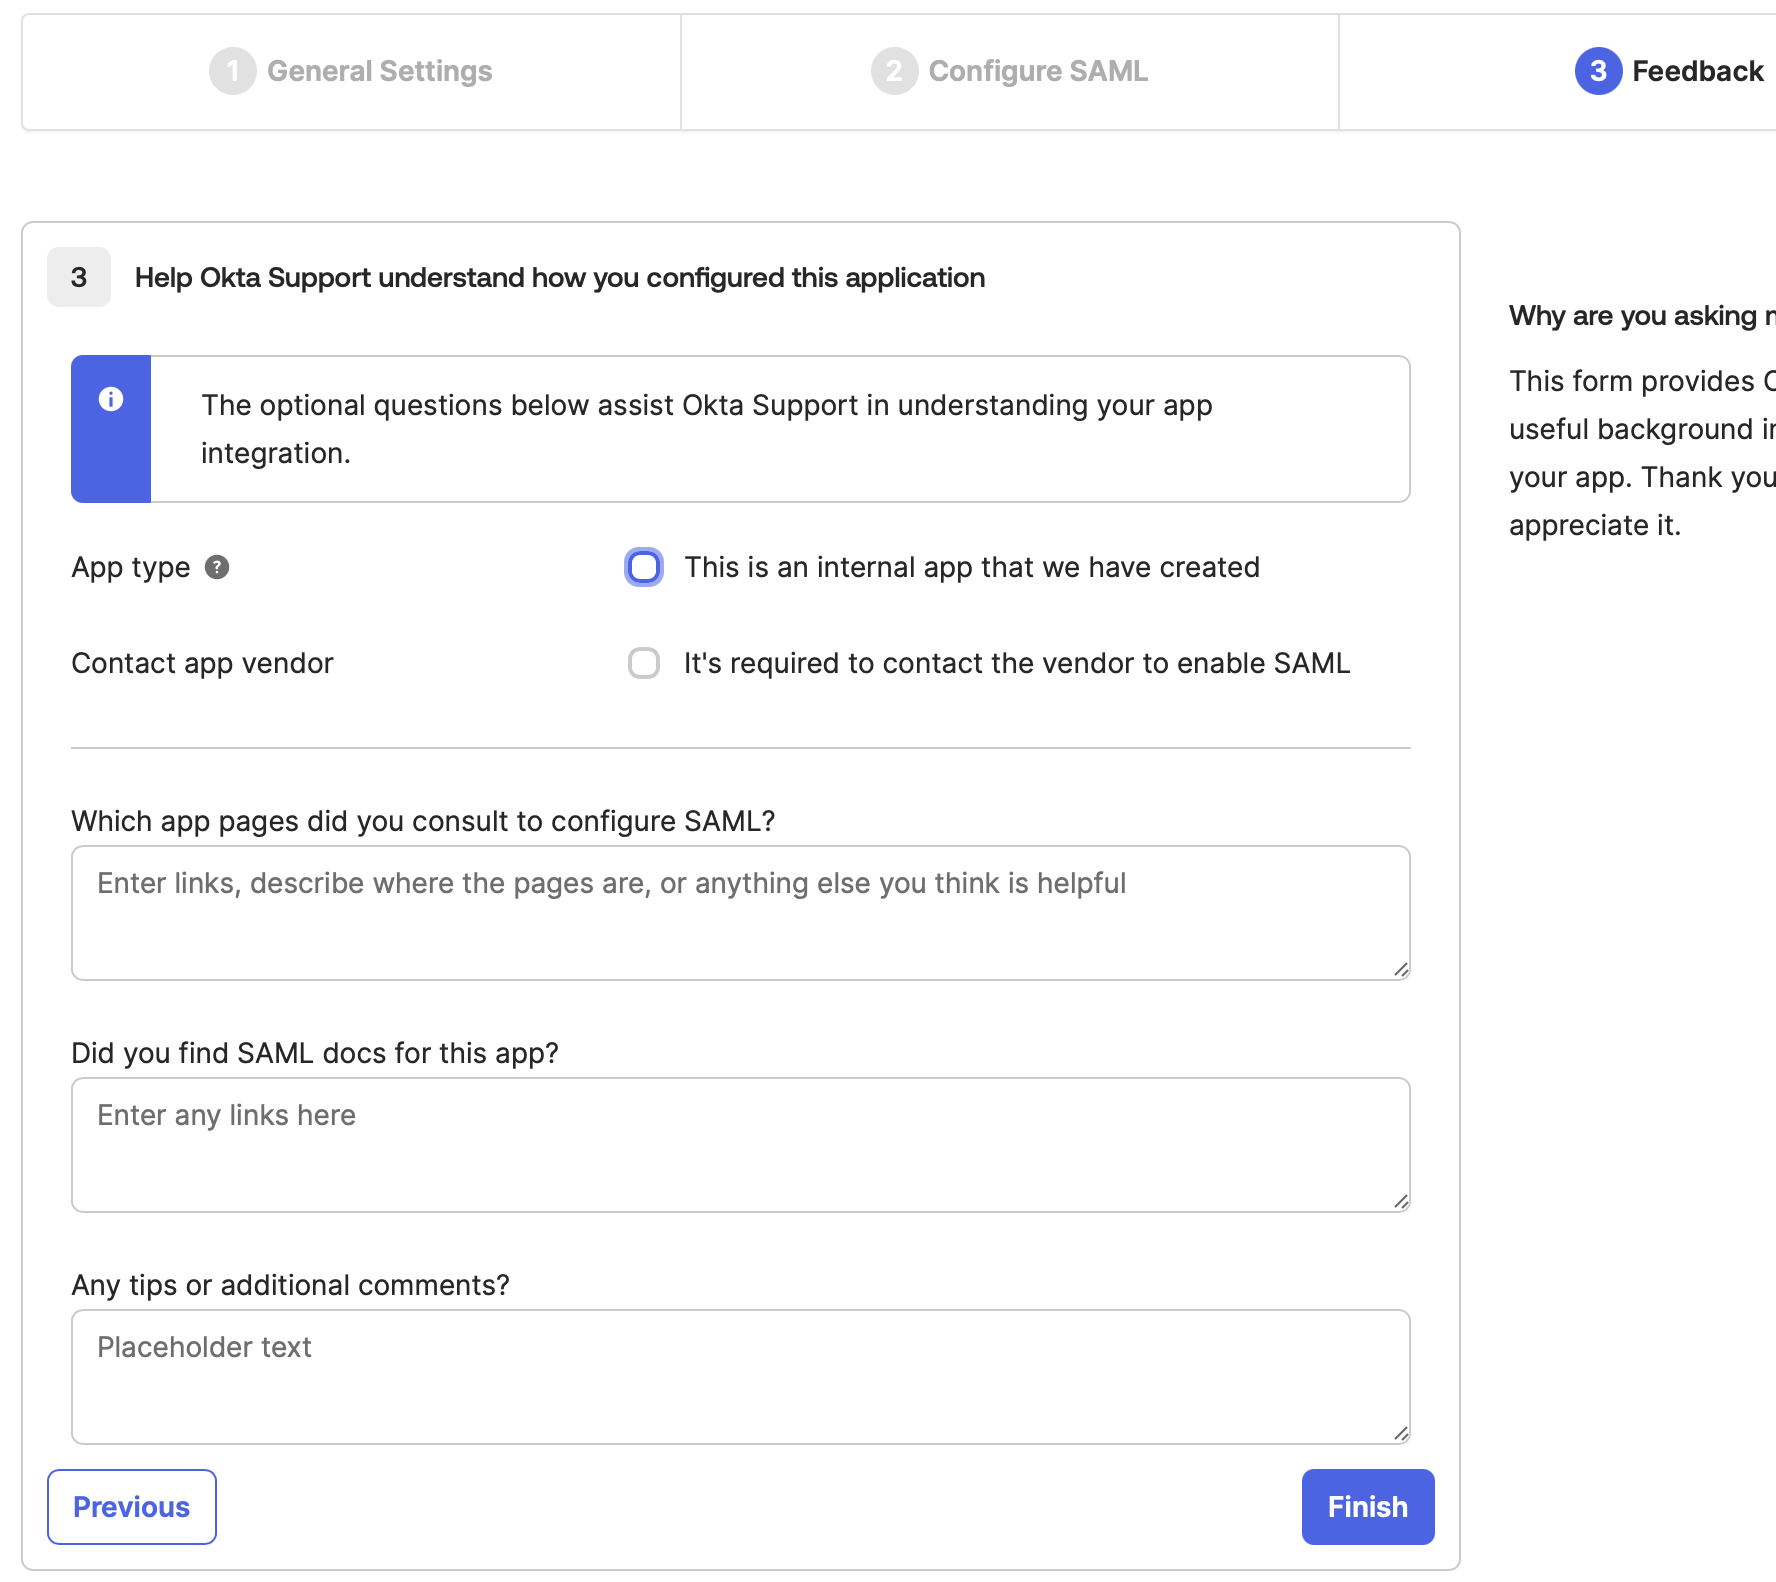
 * In the Feedback tab, provide the necessary details for Okta Support to understand how you configured this application (Optional).
* Click **Finish**.
* In the Feedback tab, provide the necessary details for Okta Support to understand how you configured this application (Optional).
* Click **Finish**.
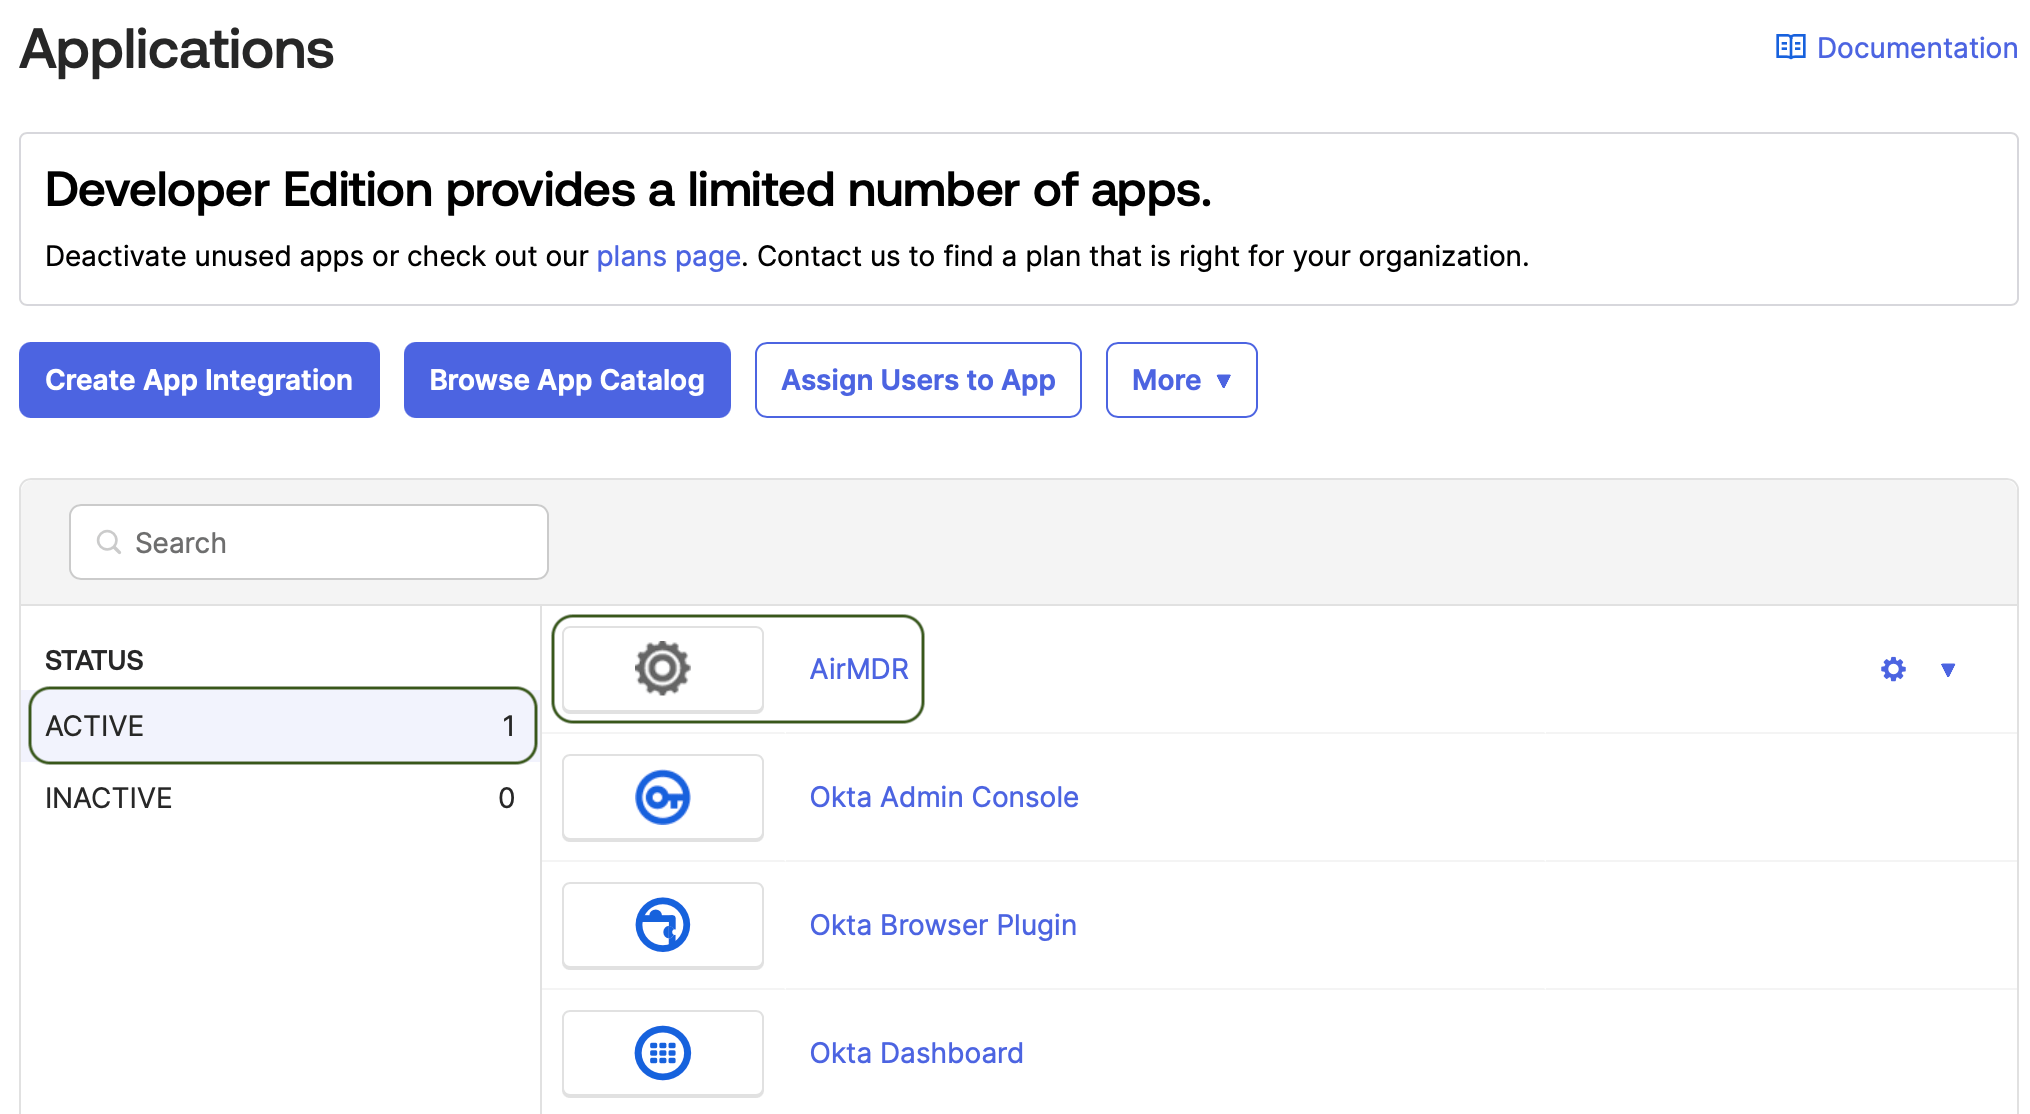
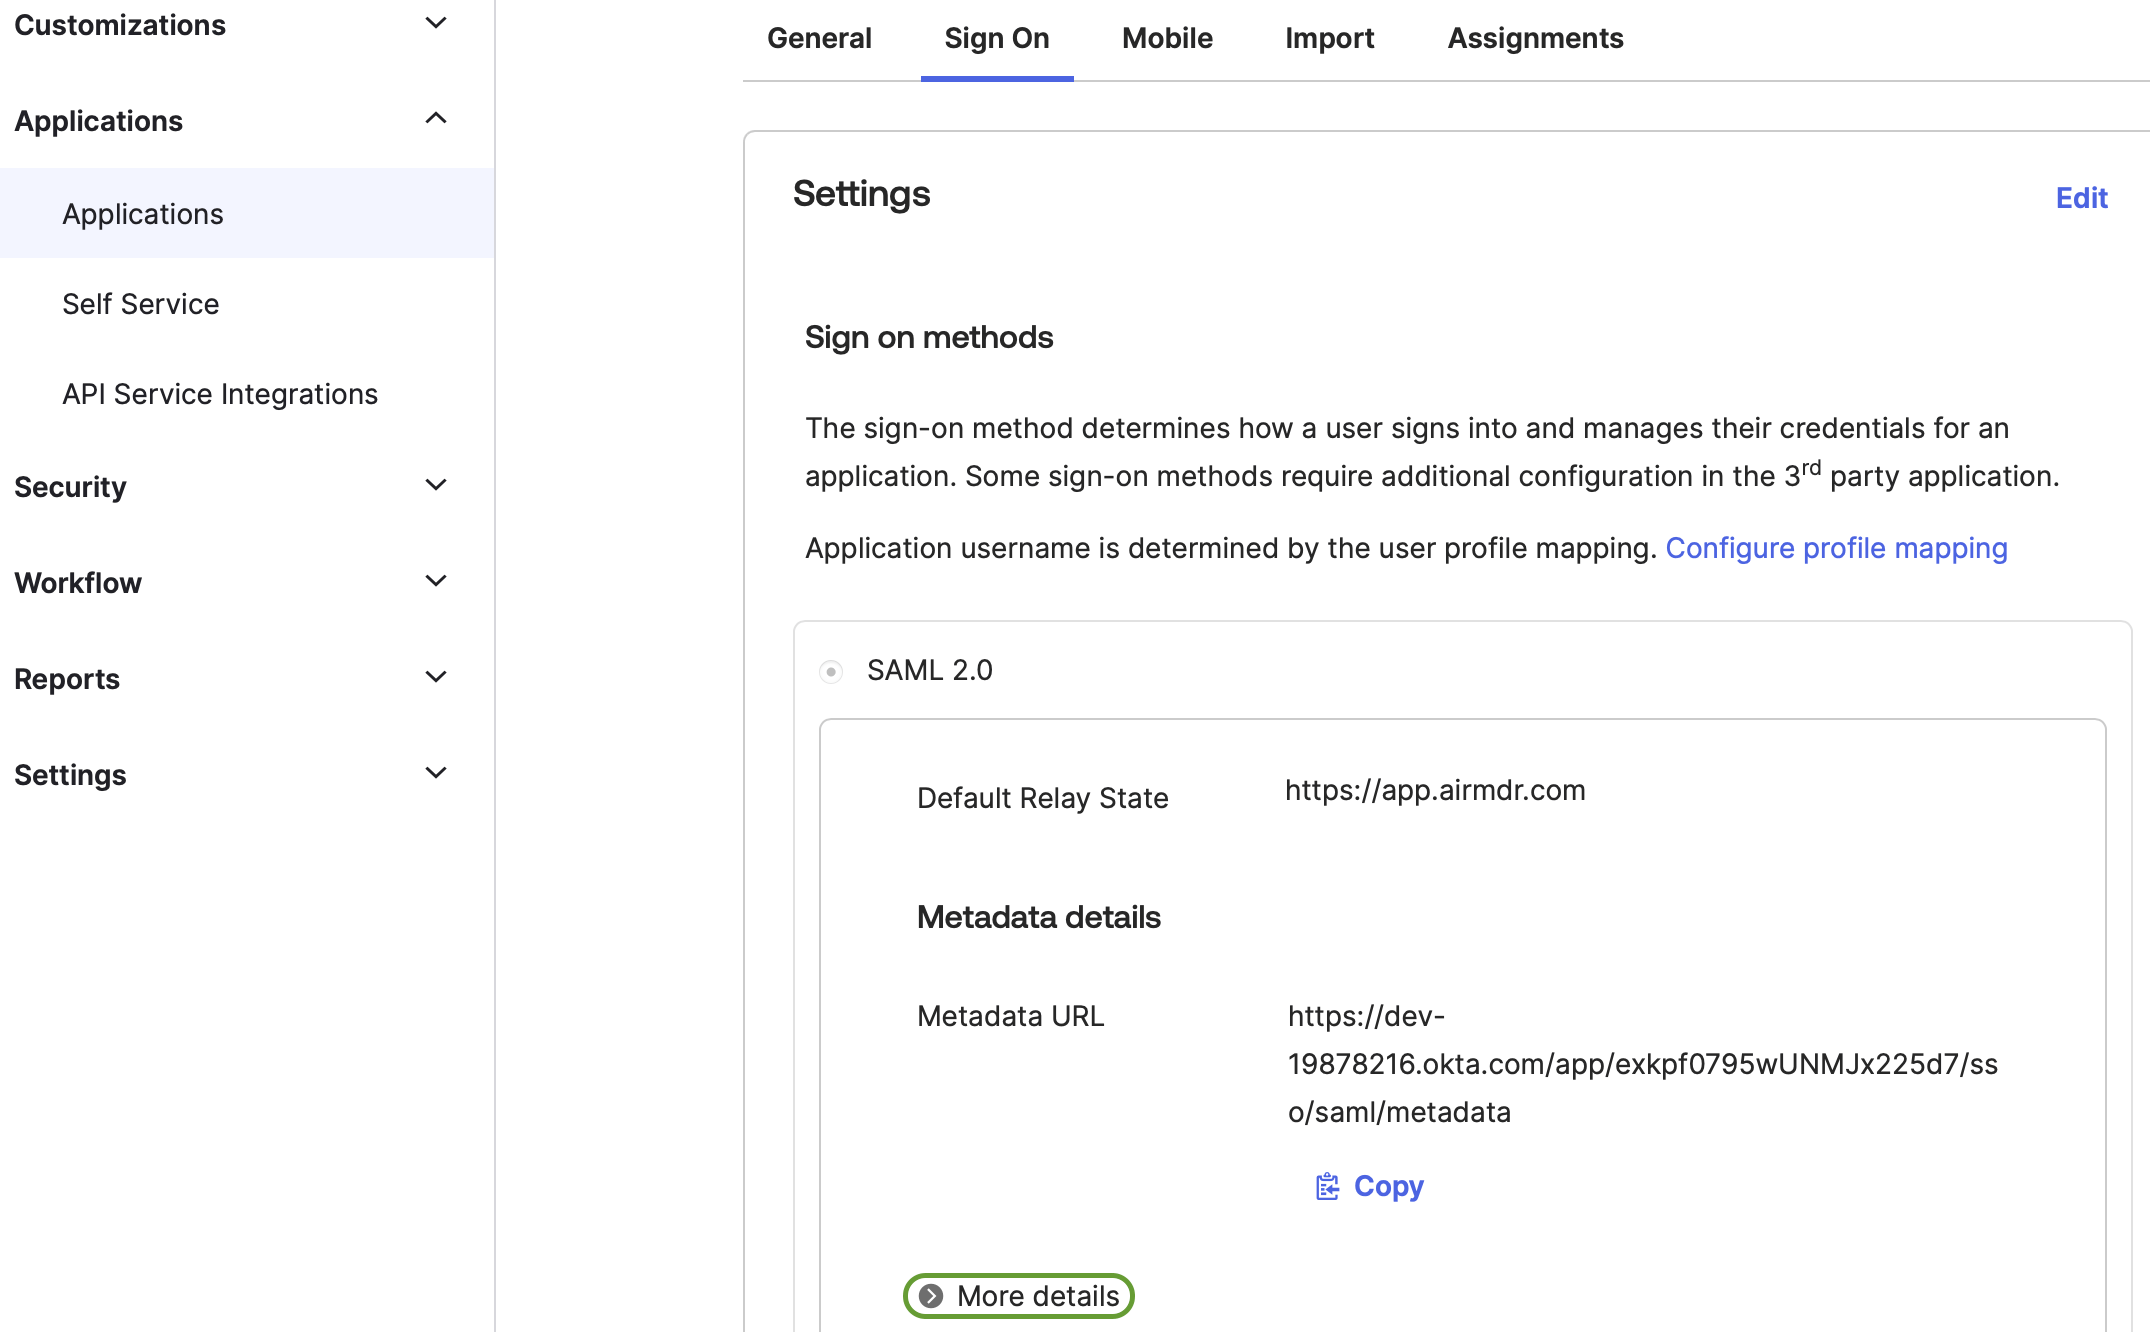
 6. On Finishing, you will be redirected to application, select the **Sign on** tab.
To view the configuration parameters at any time, navigate to **Applications** → **Applications**, click on the **ACTIVE** status tab, and then select the application you want to view the details for and select the **Sign On** tab.
6. On Finishing, you will be redirected to application, select the **Sign on** tab.
To view the configuration parameters at any time, navigate to **Applications** → **Applications**, click on the **ACTIVE** status tab, and then select the application you want to view the details for and select the **Sign On** tab.
 7. Click on the **More details** drop-down.
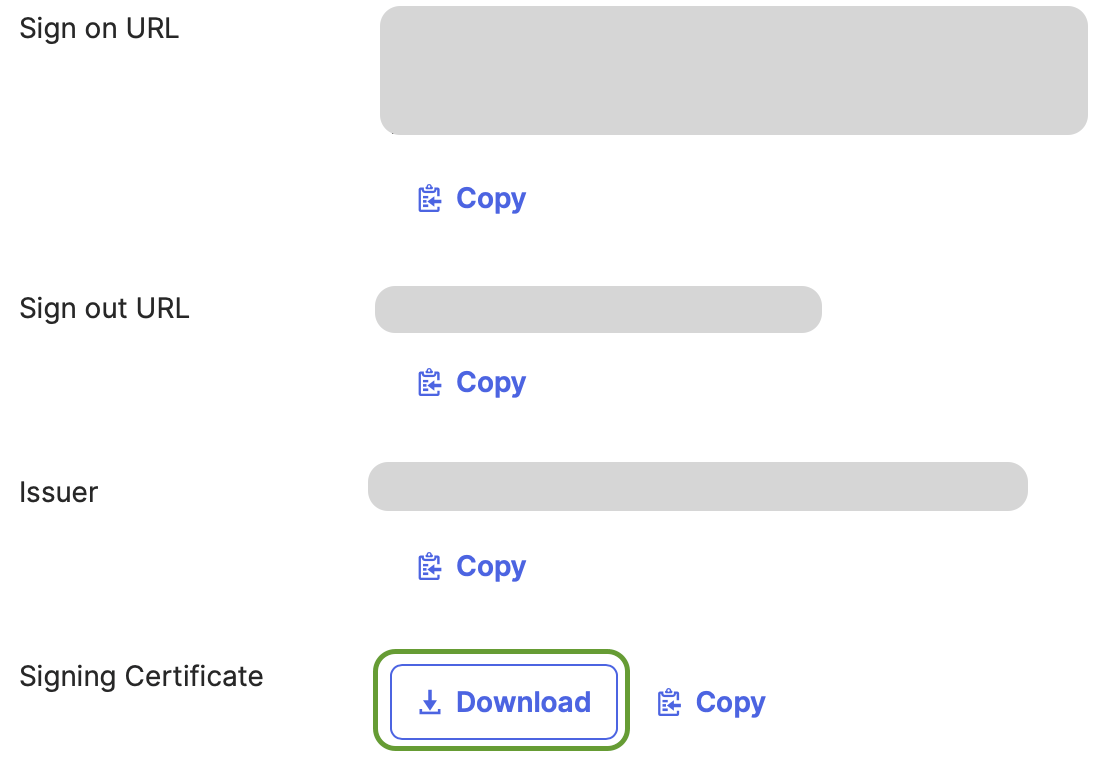
 8. Securely Copy, Download the required Configuration Parameters
* Sign on URL
* Issuer ID
* Download the Signing Certificate
8. Securely Copy, Download the required Configuration Parameters
* Sign on URL
* Issuer ID
* Download the Signing Certificate
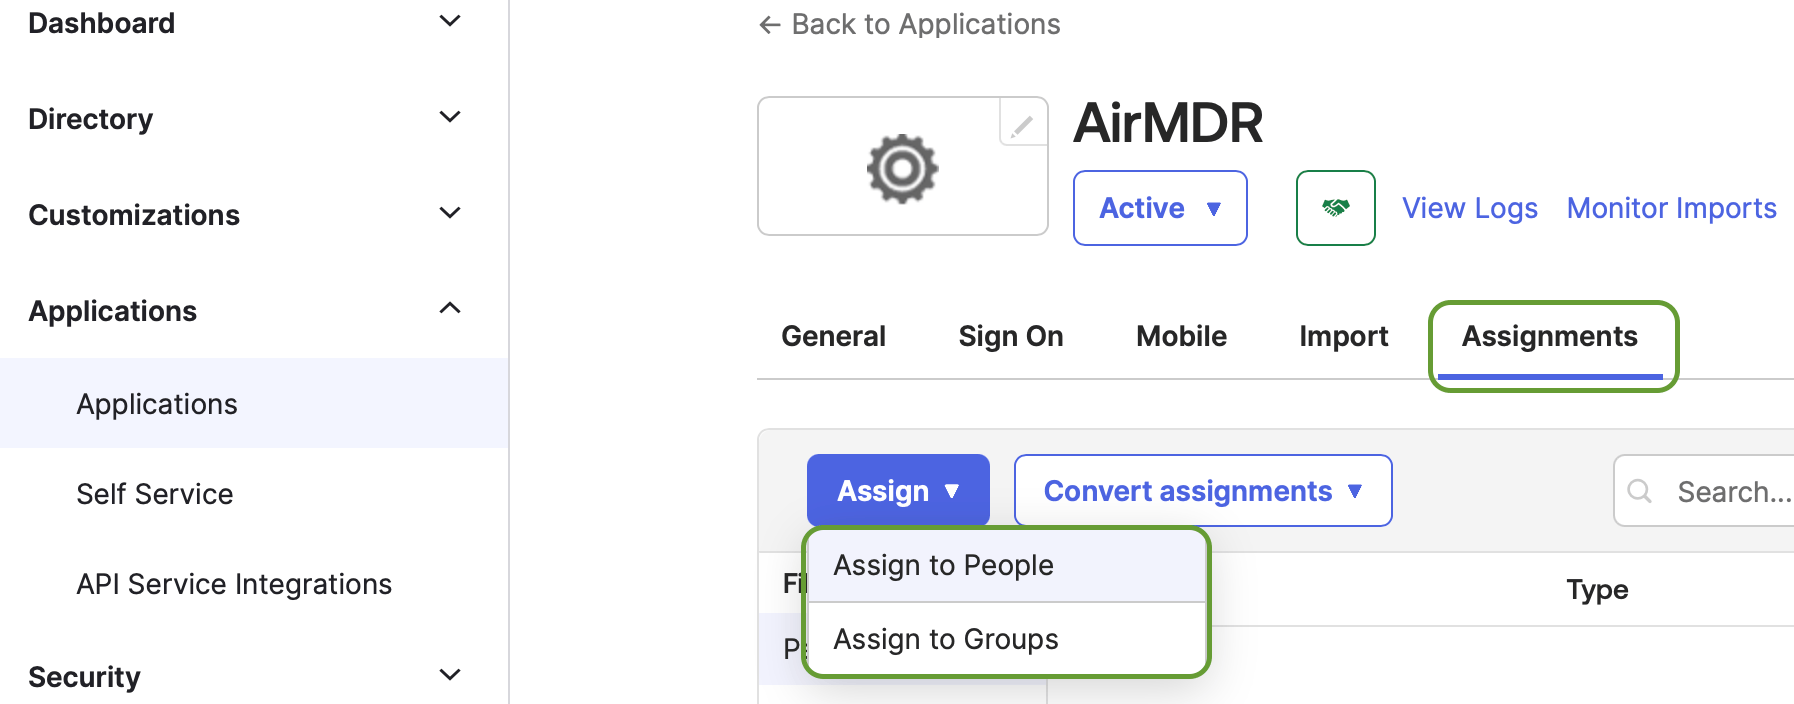
 9. Go to the **Assignments** tab of the application (For example: AirMDR) you just created.
10. Click **Assign** → **Assign to People** or **Assign to Groups.**
9. Go to the **Assignments** tab of the application (For example: AirMDR) you just created.
10. Click **Assign** → **Assign to People** or **Assign to Groups.**
 11. Select the appropriate users/groups, then click **Assign** and **Done.**
### Set up and configure Okta SSO in AirMDR UI
1. Login into the [AirMDR](https://app.airmdr.com/) application.
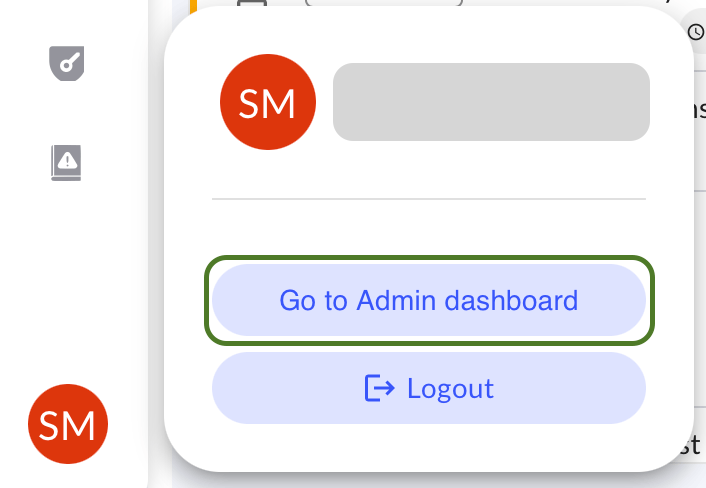
2. On the bottom left, click on the **User** and select **Go to Admin dashboard**.
11. Select the appropriate users/groups, then click **Assign** and **Done.**
### Set up and configure Okta SSO in AirMDR UI
1. Login into the [AirMDR](https://app.airmdr.com/) application.
2. On the bottom left, click on the **User** and select **Go to Admin dashboard**.
 3. Click on the midline ellipsis option (three dots) option below the ACTIONS column, and click **Edit**.
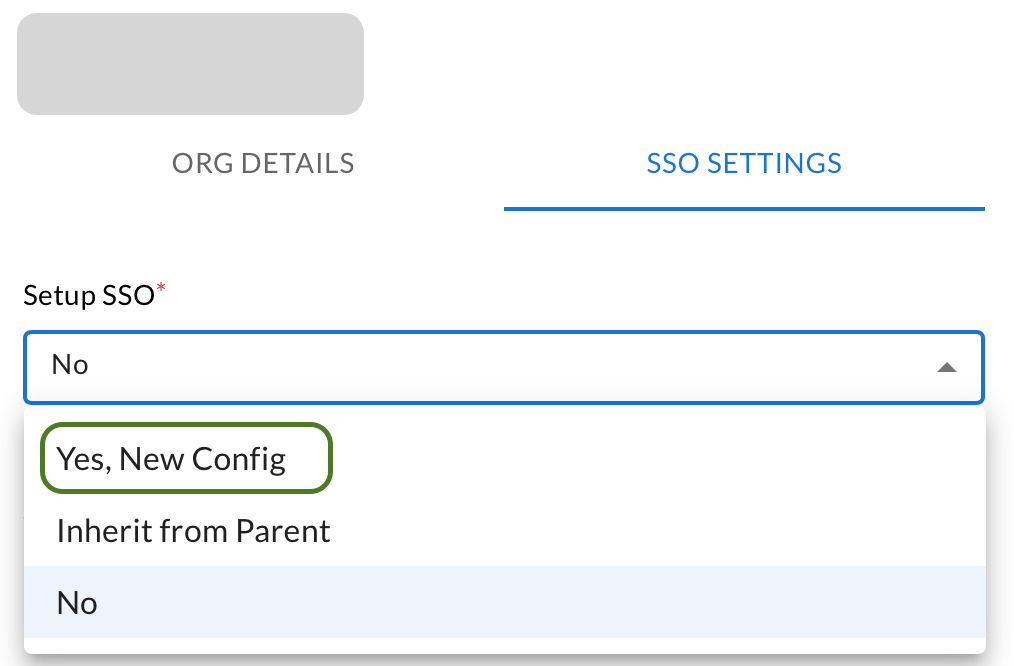
 4. Select the **SSO SETTINGS** tab.
5. In the **Setup SSO** dropdown list, select **Yes, New Config**.
If the parent organization has an existing SSO configuration and the child organization intends to reuse it, select the **Inherit from Parent** option from the **Setup SSO** drop-down menu.
4. Select the **SSO SETTINGS** tab.
5. In the **Setup SSO** dropdown list, select **Yes, New Config**.
If the parent organization has an existing SSO configuration and the child organization intends to reuse it, select the **Inherit from Parent** option from the **Setup SSO** drop-down menu.
 6. Fill in the SAML Protocol Configuration Parameters details generated from Okta.
In the **Identity Provider (IdP) to use** dropdown list select **Custom.**
Use **Upload** option to include the **Identity Provider Certificate** **(Signing Certificate)** downloaded from Okta.
The downloaded Okta certificate has a default file extension of `.cert`.\
Users must ensure the file extension is changed to `.crt` before uploading.
For example: `Okta.crt`
In the **Provide your SSO endpoint**, enter the **Identity Provider Login URL (Sign On URL)** copied from Okta.
6. Fill in the SAML Protocol Configuration Parameters details generated from Okta.
In the **Identity Provider (IdP) to use** dropdown list select **Custom.**
Use **Upload** option to include the **Identity Provider Certificate** **(Signing Certificate)** downloaded from Okta.
The downloaded Okta certificate has a default file extension of `.cert`.\
Users must ensure the file extension is changed to `.crt` before uploading.
For example: `Okta.crt`
In the **Provide your SSO endpoint**, enter the **Identity Provider Login URL (Sign On URL)** copied from Okta.
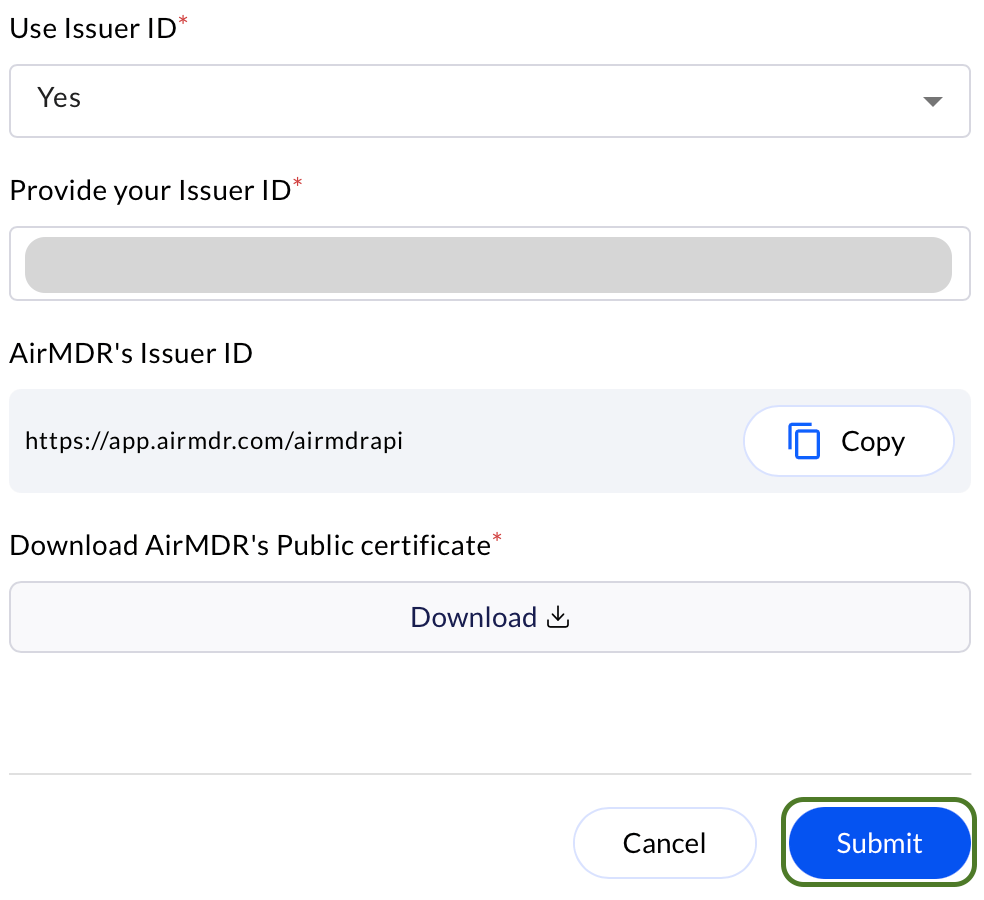
 In the **Use Issuer ID** dropdown, select **Yes** and provide **Issuer** **ID** copied from Okta.
7. Click **Submit**. (SSO Okta SSO Authentication is successfully created for your account).
In the **Use Issuer ID** dropdown, select **Yes** and provide **Issuer** **ID** copied from Okta.
7. Click **Submit**. (SSO Okta SSO Authentication is successfully created for your account).
 ### To Evaluate Integration
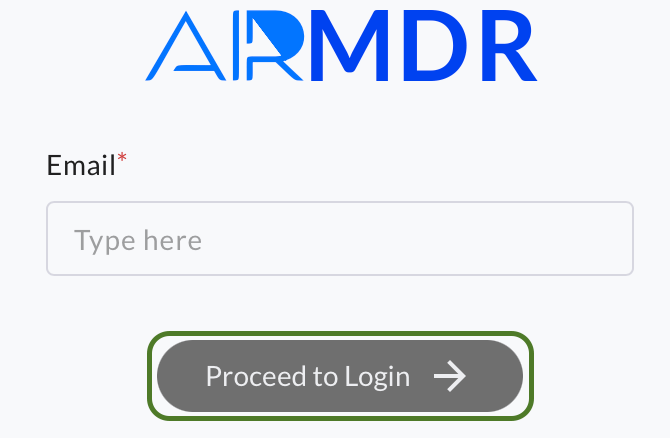
1. Navigate to the AirMDR Login page, enter your **Email,** and click **Proceed to Login**.
As your SSO Okta SSO Authentication is successfully created for your account.
### To Evaluate Integration
1. Navigate to the AirMDR Login page, enter your **Email,** and click **Proceed to Login**.
As your SSO Okta SSO Authentication is successfully created for your account.
 2. The page will be redirected to the Okta URL provided as the **SSO Endpoint** in the **SSO SETTINGS**.
3. Enter the credentials created in the **Okta** → **User Management**
Hurray! You are Logged in Successfully
2. The page will be redirected to the Okta URL provided as the **SSO Endpoint** in the **SSO SETTINGS**.
3. Enter the credentials created in the **Okta** → **User Management**
Hurray! You are Logged in Successfully